Sample Category


Year 1 and 2 students must use their skills to match spelling representations for the /ee/ phoneme to corresponding pictures!

This activity is designed to be used in pairs. The instructions below are written for one pair. You will need to increase the amount of copies depending on how many pairs you have.

Instructions:

  • Download and print the Easter Egg Match Worksheet
  • If you would like to re-use the resource next year, laminate the worksheet before cutting anything out
  • Following the directions, cut around each Easter egg, as well as through the cracked middle
  • Place each of the pieces into a container

NOTE: An Easter basket makes a lovely substitute for a container.

  • Have the pair lay the pieces out on the floor into two piles – words and pictures
  • Taking turns, each child must recognise the picture on the eggshell e.g. “evil” (witch) and match it to the corresponding spelling representation e.g. “e”
  • This is about teamwork as much as it is phonics, so make sure that the pair are talking to one another and working to find the answer together

Read more from our blog!

Read more »


Keep those little brains enthralled with some spelling representation practice over Easter!

Instructions:

  • Print the Phonics Rainbow Worksheet
  • Photocopy one rainbow per child and hand out
  • Choose one group of spelling representations to work with (e.g. /ee/ea/y/e/) and have the children write one in each of the clouds provided on the left side of the rainbow
  • To the entire class, slowly dictate one word at a time from the chosen word list, encouraging them to choose the correct spelling representation and write down the word on their rainbow in the correct stripe

NOTE: You may want to give children who are having difficulty a copy of the chosen word list, making it easier for them to choose and copy the correct word.

  • Once they have filled their entire rainbow, give them a few minutes to decorate and colour in their worksheets. Display the finished work in the classroom as a festive holiday creation

To show you just how cute and easy this activity can be, we’ve included a sample for you to look at below: easter egg example

Read more from our blog!

Read more »


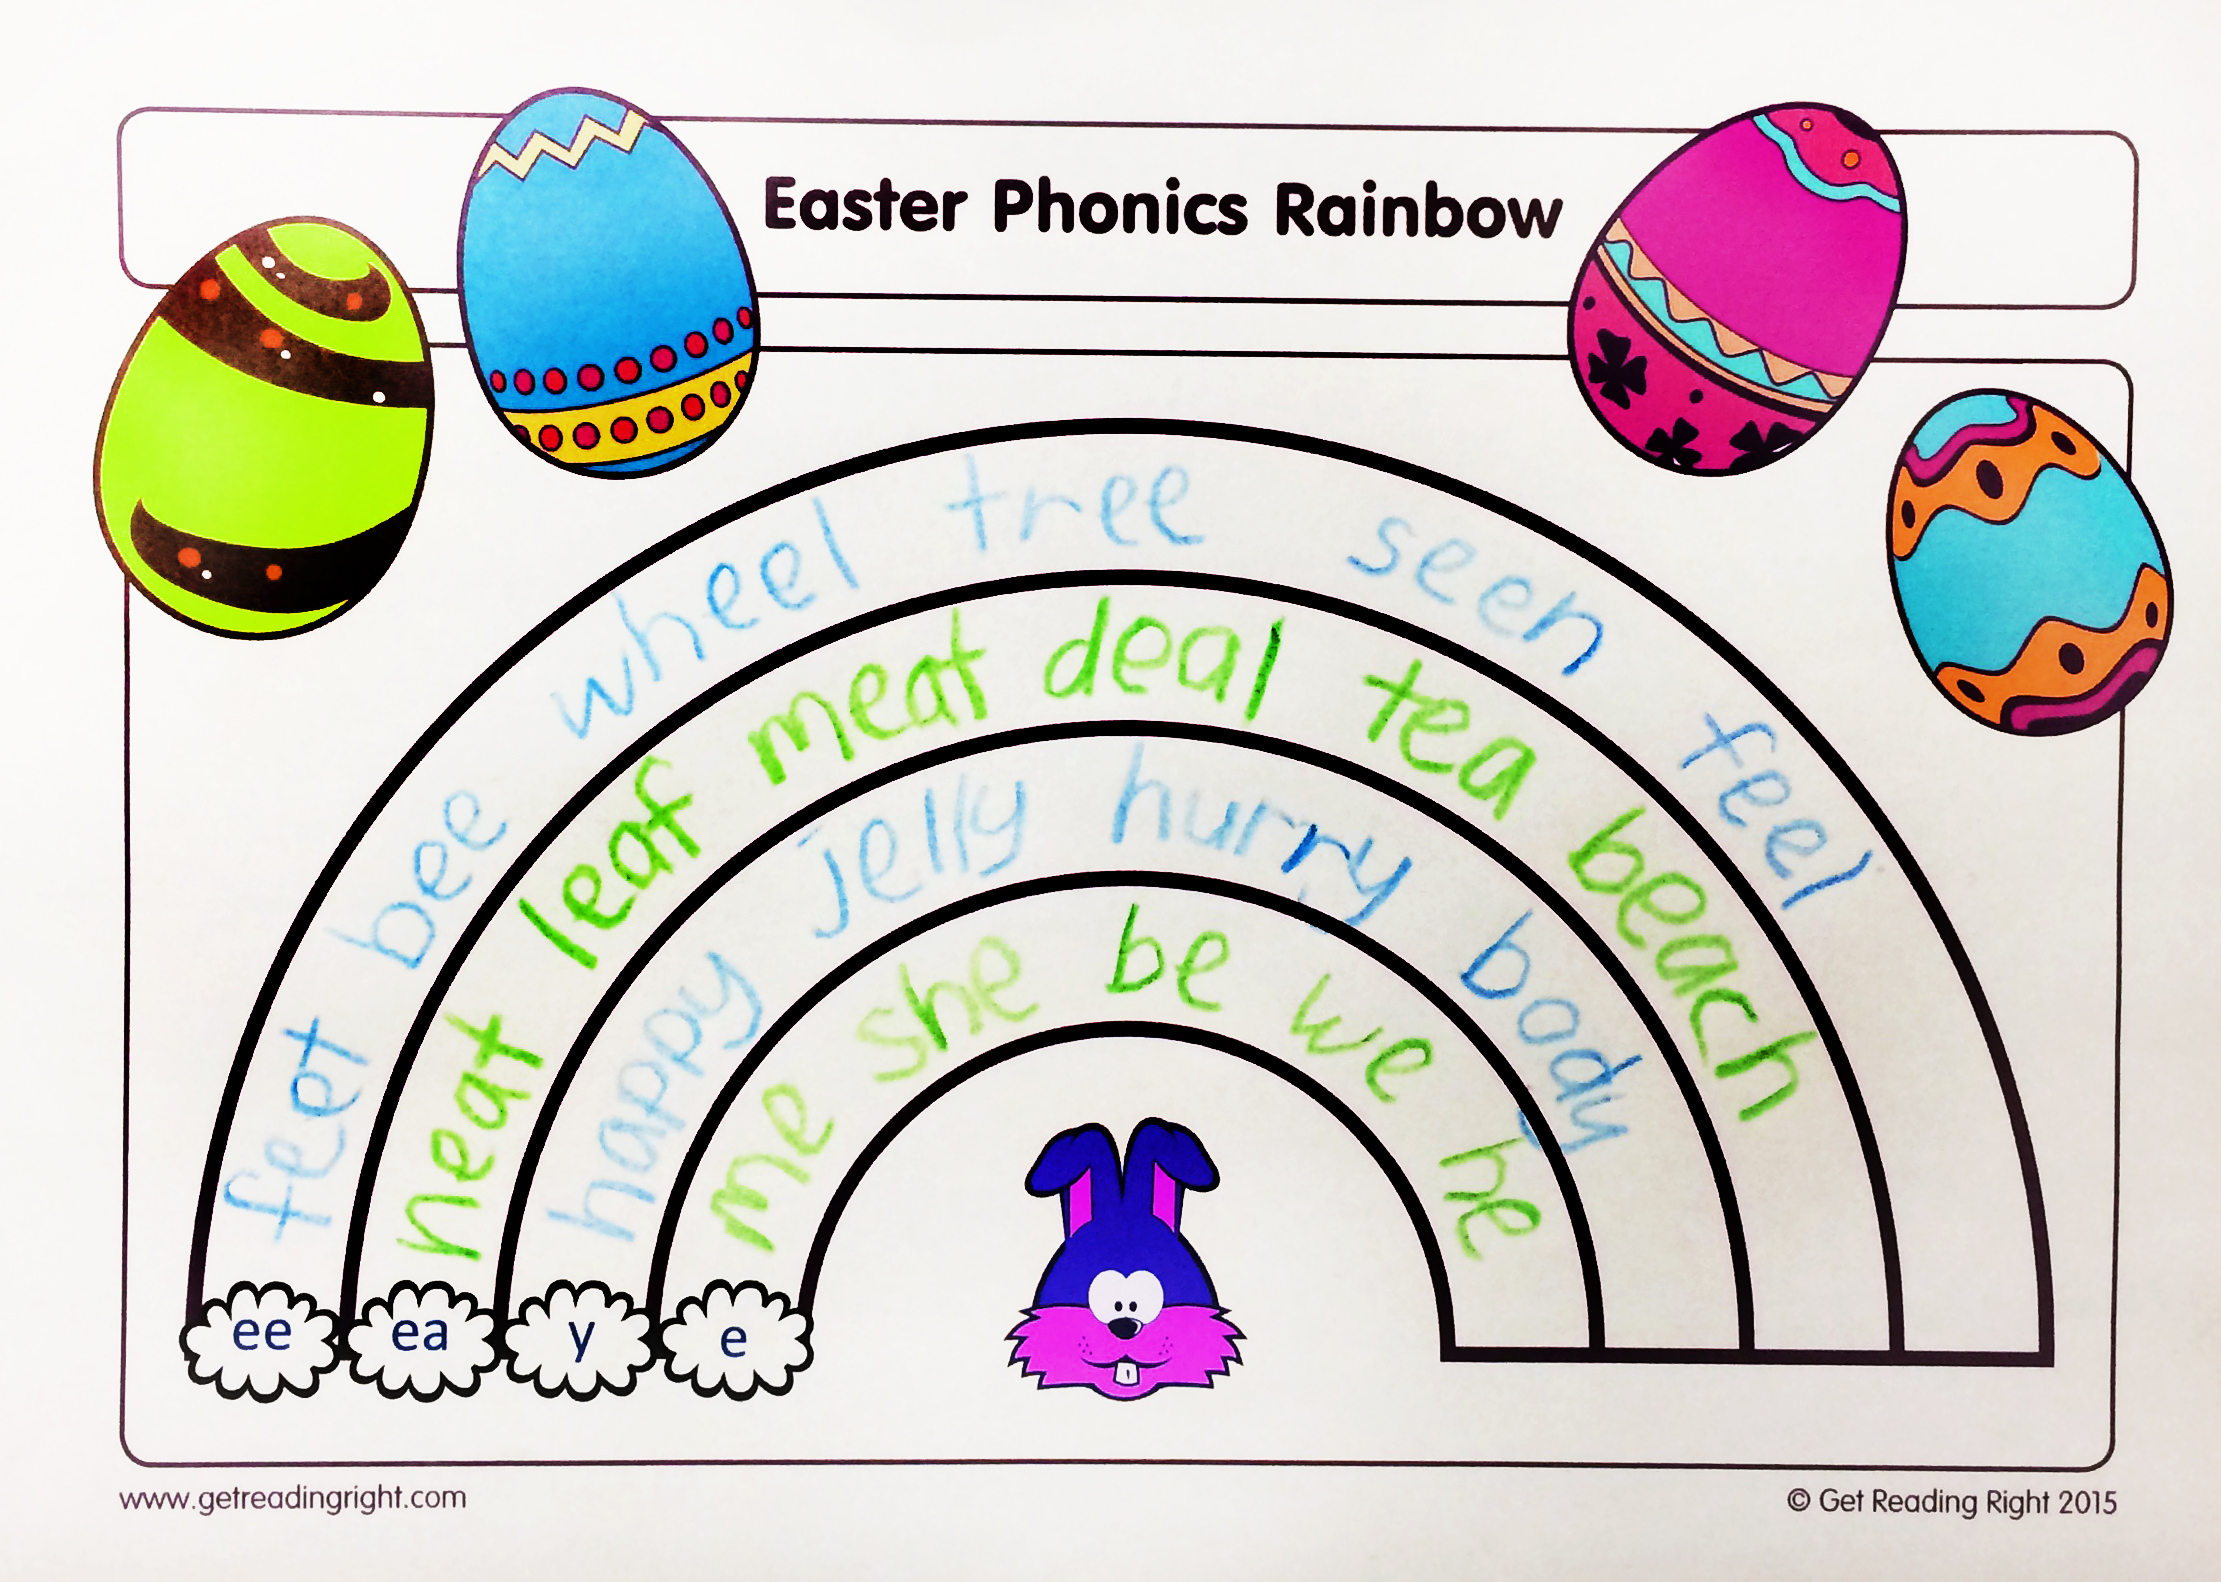
Do you need to spice up one of your classroom walls? Well Year 2, we’ve got just the display resource to do it!

Our Spelling Representation Balloons include all of the graphemes from each unit of Complete the Code. One phoneme per card. These balloons, provide the perfect opportunity for more passive absorption of information.

Instructions:

  • Print the Spelling Representation Balloons Template
  • Cut out and laminate the desired balloons (you may want to start with the phonemes from the unit you are currently teaching only)
  • Turn each ballon over and adhere a piece of string or curling ribbon to the bottom

NOTE: You may want to punch a hole at the bottom of each balloon and tie the curling ribbon through it instead.

  • Stick the balloons to the wall in a bundle using Blu-Tack
  • To give the illusion of real floating balloons, tie the ribbons together in a bunch below the balloon display.

Read more from our blog!

Read more »


Some of you may remember our DIY Giant Magnetic Letters last year, inspired by Sally Hedrick from Warragul North Primary School.

Well, due to popular demand, we’ve designed DIY Giant Magnetic Letters for the Advanced Code. That’s right Year 1 teachers… it’s time to get out the laminator!

You will often demonstrate to your whole class how to blend and segment with magnetic letters, and to do so you need to be working with larger graphemes. This simple four step resource is just what you need.

Instructions:

HINT! Print on coloured paper e.g. blue, to make them brighter.

  • Cut out letters individually and laminate
  • Using a strip of magnetic tape, cut around 40 small 1cm pieces

NOTE: You can buy the tape at your local Officeworks. Or even better, have you been given any useless promotional magnets lately? Save yourself some money and use those instead of the tape!

  • Superglue one magnet square (or two depending on the size of the grapheme) onto the back of each grapheme

We’d advise making The Basic Code DIY Giant Magnetic Letters while you’re at it. You’ll need those graphemes to make whole words.

Read more from our blog!

Read more »


Is 6pm too hard for you to make our free webinars? Well just this once, we’ve posted a recorded version of our ‘Ready to Roll with Synthetic Phonics’ webinar. Click here to watch it now!

Read more »